Integrate Jira and Zendesk in 6 Simple Steps
Learn how to seamlessly integrate Jira and Zendesk in 6 steps, ensuring smooth collaboration and efficient workflow across teams.

Jira and Zendesk make life easier, with many features to help teams organize and share their work. However, things get harder when teams using them need to collaborate. With their information in different software, it’s hard to bring them together.
A Jira Zendesk integration can help with that. By automatically synchronizing data across platforms, it lets teams work together smoothly, despite differences in their tools and workflow.
With the right integration, you can sit back and let it do the hard work for you, leaving your teams free to focus on working together in a smoother way.
Why Should You Consider a Jira Zendesk Integration?
There are many solutions where an integration between Jira and Zendesk can help.
For example, if your management team uses Zendesk, and your contractors use Jira, an integration can help both of them track progress on your projects. You can configure it to share the data each team needs, keeping everybody informed.
Similarly, a sales team using one platform can share information with an engineering team. They both have an interest in bugs and new features, but want to maintain their own information on each side. Customer concerns are of interest to the engineers. Progress on issues is useful for sales.
An integration can share this information instantly. That reduces the need for meetings, and prevents duplicate work.
Choose the Right Solution for Your Sync
There are several things to think about when picking an integration solution.
Flexibility
Your connection needs the flexibility to change. As your needs evolve over time, you need to be able to update the synchronization accordingly.
Reliability
A synchronization should save you time. One that needs attention whenever there’s internet downtime is going to cause problems. Your solution needs to be self restoring.
Control over Shared Information
The right solution should allow you to control your incoming and outgoing data and configure the sync however you want.
The tool we’ve chosen to solve these needs is Exalate. Exalate is a multi-platform integration solution letting you share data between major project management platforms.
As well as Jira and Zendesk, it works with Gitub, Servicenow, Azure DevOps, Salesforce and HP ALM.
How to Integrate Jira and Zendesk in 6 Simple Steps
Let’s go through how to integrate Jira and Zendesk step by step. Firstly, you should install Exalate on both platforms. Then you set up the connection and perform any configuration needed. After that, you’re ready to go.
Step 1 - Install Exalate on Jira
To install Exalate on Jira, look for it in the Atlassian marketplace. Click “try it free” and follow the steps. You’ll be taken back to Jira to confirm your free trial, then you’re ready.
Step 2 - Install Exalate on Zendesk
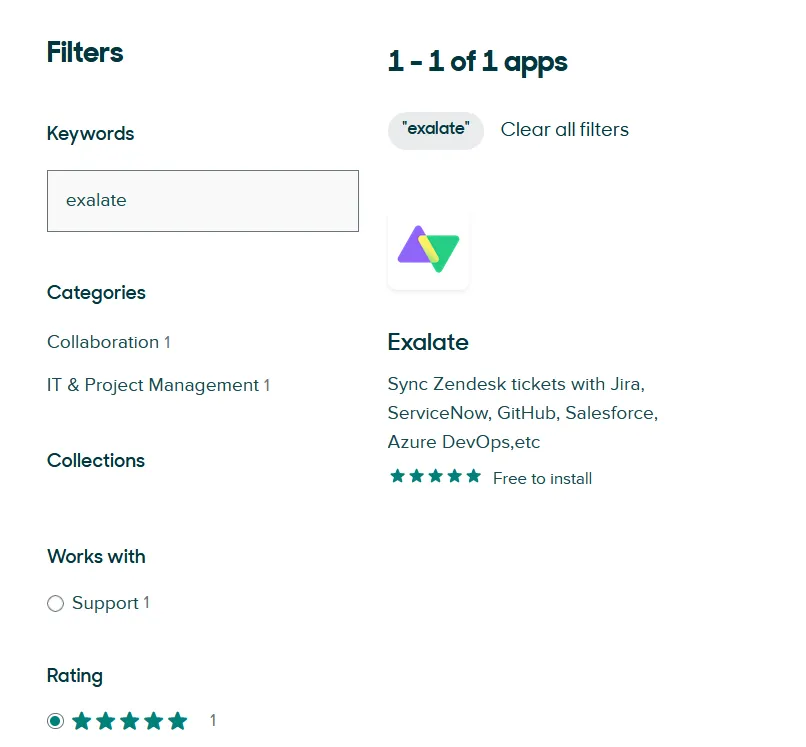
Next you need to install Exalate on Zendesk to connect Jira and Zendesk. Find it in the Zendesk marketplace. Click “Install”, then follow the prompts to complete your installation.
Step 3 - Connect Your Jira and Zendesk Instances
Now you need to create a connection between the 2 instances. You can do this from either platform. Exalate provides a consistent experience in each.
In Jira, after installing Exalate, you can access its menu by clicking the cog in the top right, and selecting “Manage Apps”. You’ll then see an “Exalate” section included in the left hand menu.
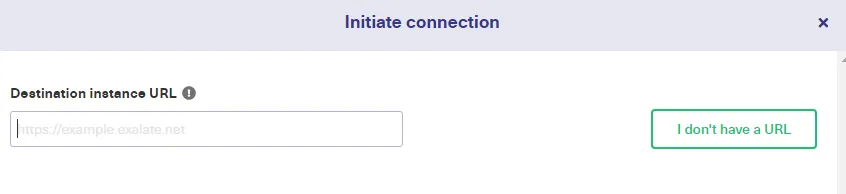
Click “Connections” followed by “Initiate Connection”. You need to enter the URL of your Zendesk instance in the popup.
After that you’ll get several options. Exalate offers various modes.
Basic mode sets things up for you, but doesn’t allow sync rule editing. Visual mode lets you make customizations easily. Script mode lets the coders among you create complex rules for advanced use cases.
Whichever you choose, follow the prompts and then allow Exalate to create your connection on both platforms.
Step 4 - Configure The Connection and Share the Right Data
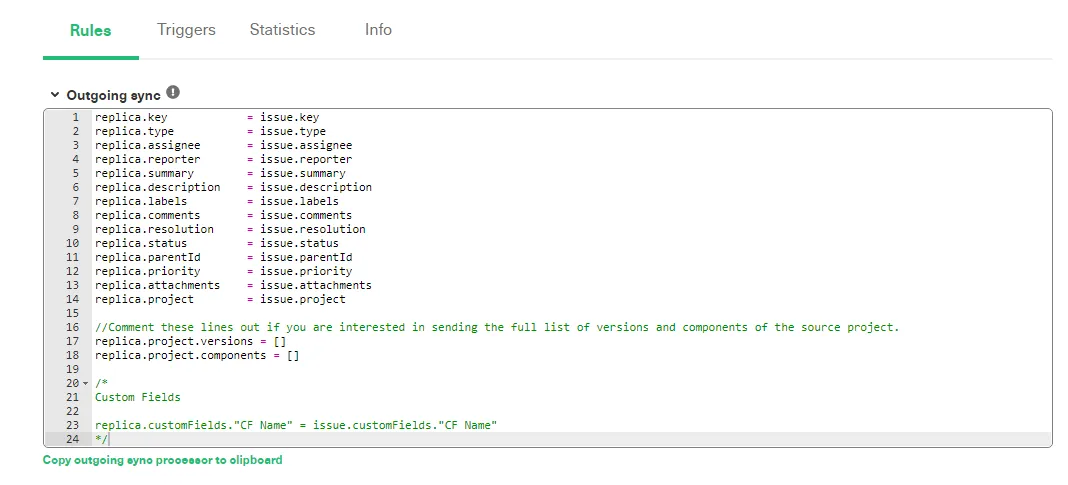
To configure your connection, select its edit icon in the connections list. From here you can choose which fields are shared, what they match with, and even add arbitrary data, such as “synced from sales team” to every shared item.
Step 5 - Automate the Synchronization
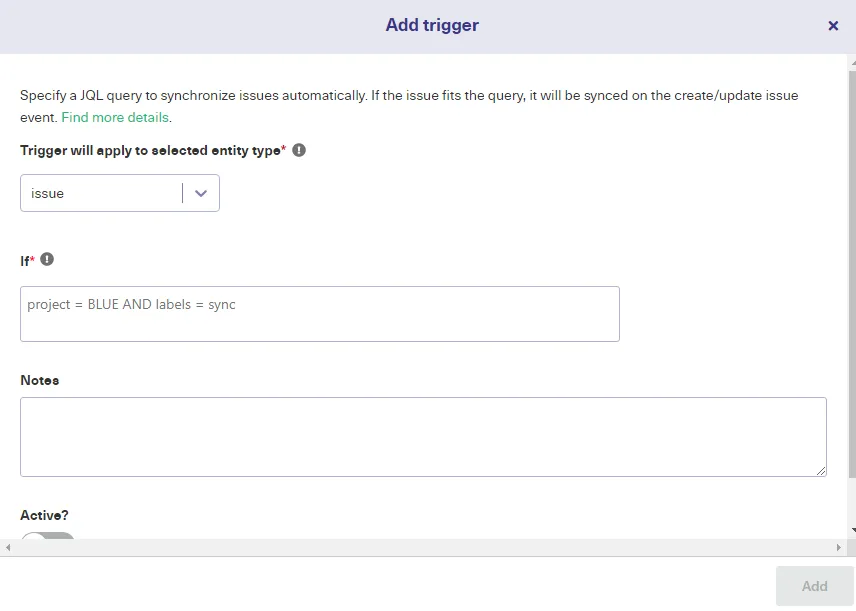
Triggers control what data is shared. You can create triggers to match any kind of data. For example a trigger might share all items, or it might share items created by a particular team member.
You create triggers from the edit connections menu, and can create as many as you need.
Step 6 - You’re Ready to Go! Now your integration is ready. Be sure to verify it is doing what you want. After that, you can leave it to work for you. Don’t forget, you can always add new triggers or new rules to control what is shared, and when.
Conclusion
Teams use software to handle much of their day to day organization. That presents a challenge when you need to work with others. You can be so tightly coupled to your software that it seems impossible to work with other systems.
Fortunately, integration tools can do most of the hard work for you. With the right integration, you can connect your teams seamlessly.
Exalate is designed to solve all the problems an integration can bring. It delivers reliability, flexibility, and control. With Exalate, integration becomes a solvable problem.
Check out its free trial and see how it can smooth your workflows and get your teams working together, easily. And if you want to see how it works for you, you can book a demo with an integration engineer.
This article was written by our partner, Exalate.
Related posts

Katarzyna Pawlak
•Mar 20, 2026

Magdalena Skoropada
•Feb 6, 2026